
Installing an Aluminum Canopy: Start to Finish
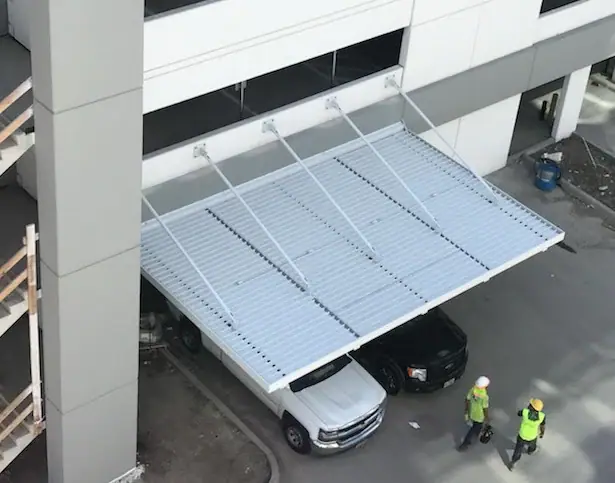
A canopy gives a commercial building shelter, shade and curb appeal. It shades the glass at the entrance, and it can carry lights, signs and drainage. With the wide range of styles and finishes, it is easy to match the building’s design.
Installing an aluminum canopy is simple when the planning and site prep are done well. Once the site is ready, a canopy can go up in as little as a day, depending on its size and the crew.
This guide walks through the job from start to finish. For product-specific steps, download the installation manuals for our Bull and Hammerhead canopies.
Materials and Tools Checklist
Confirm everything below is on site before installation day.
Tools
- Rotary hammer or hammer drill with masonry bits
- Impact driver
- Rivet gun
- Torque wrench
- Hole saw (3-inch, for drainage)
- Laser level and chalk line
- Level and plumb tools
- Caulking gun
- Touch-up paint and edge finishing tools
- Ladders or scaffolding (boom or scissor lift for larger systems)
Materials
- Canopy components and shop drawings
- Manufacturer-supplied hardware and brackets
- Anchor bolts (stainless or galvanized, per exposure)
- Non-compressible shims and backing plates
- Drain stub or scupper (plus downspout, if specified)
- Flashing and flashing anchors suited to the wall type
- Exterior-rated, silicone-based sealant
- Protective padding for staging and moving components
Preparing for Installation
Good preparation is the most important step. It starts with a wall that can carry the canopy’s anchors. Then choose the right canopy, tools and materials. The details follow.
Choosing the Right Canopy
Choosing a canopy for a commercial building means weighing function and form. The canopy must suit the building’s design and meet structural needs, local codes and performance goals. It should also tie in cleanly with the building envelope and be easy to install and maintain.
Start with the site’s weather. Wind, snow, rain and sun all shape the design. Planning for them up front helps the canopy perform for years.
- Coastal sites need good corrosion resistance. Aluminum doesn’t rust, but the finish still matters in salt air.
- High-wind sites may need stronger framing or anchoring to resist uplift. Site-specific engineering is available when a project needs it. If you need stamped calculations, tell us up front.
Next, think about use and traffic. A canopy over a loading dock has different structural and clearance needs than one over an apartment entrance. Busy entrances often need lights, drainage and signs. Plan these from the start, not as add-ons.
Also think about fabrication and install logistics. Prefabricated canopies are built and finished in the shop, which cuts on-site labor and install time. Read more on how prefab canopies save time during construction. The canopy style matters too: see cantilevered vs. hanger rod canopies.
Tools and Materials
Installing an aluminum canopy doesn’t take much special equipment. Still, check the manufacturer’s guides and confirm every item on the checklist above is on site before you start.
Ladders and scaffolding are standard. Larger systems may need a boom or scissor lift to handle bulky parts safely at height.
Anchor bolts should be stainless or galvanized, depending on exposure. If Sharchs is not the installer, we supply all the canopy hardware. The installer supplies the sealant and the flashing anchors suited to the wall type.
Depending on the system, you may install wall brackets, hanger rods, outriggers, fascia panels or built-in gutters.
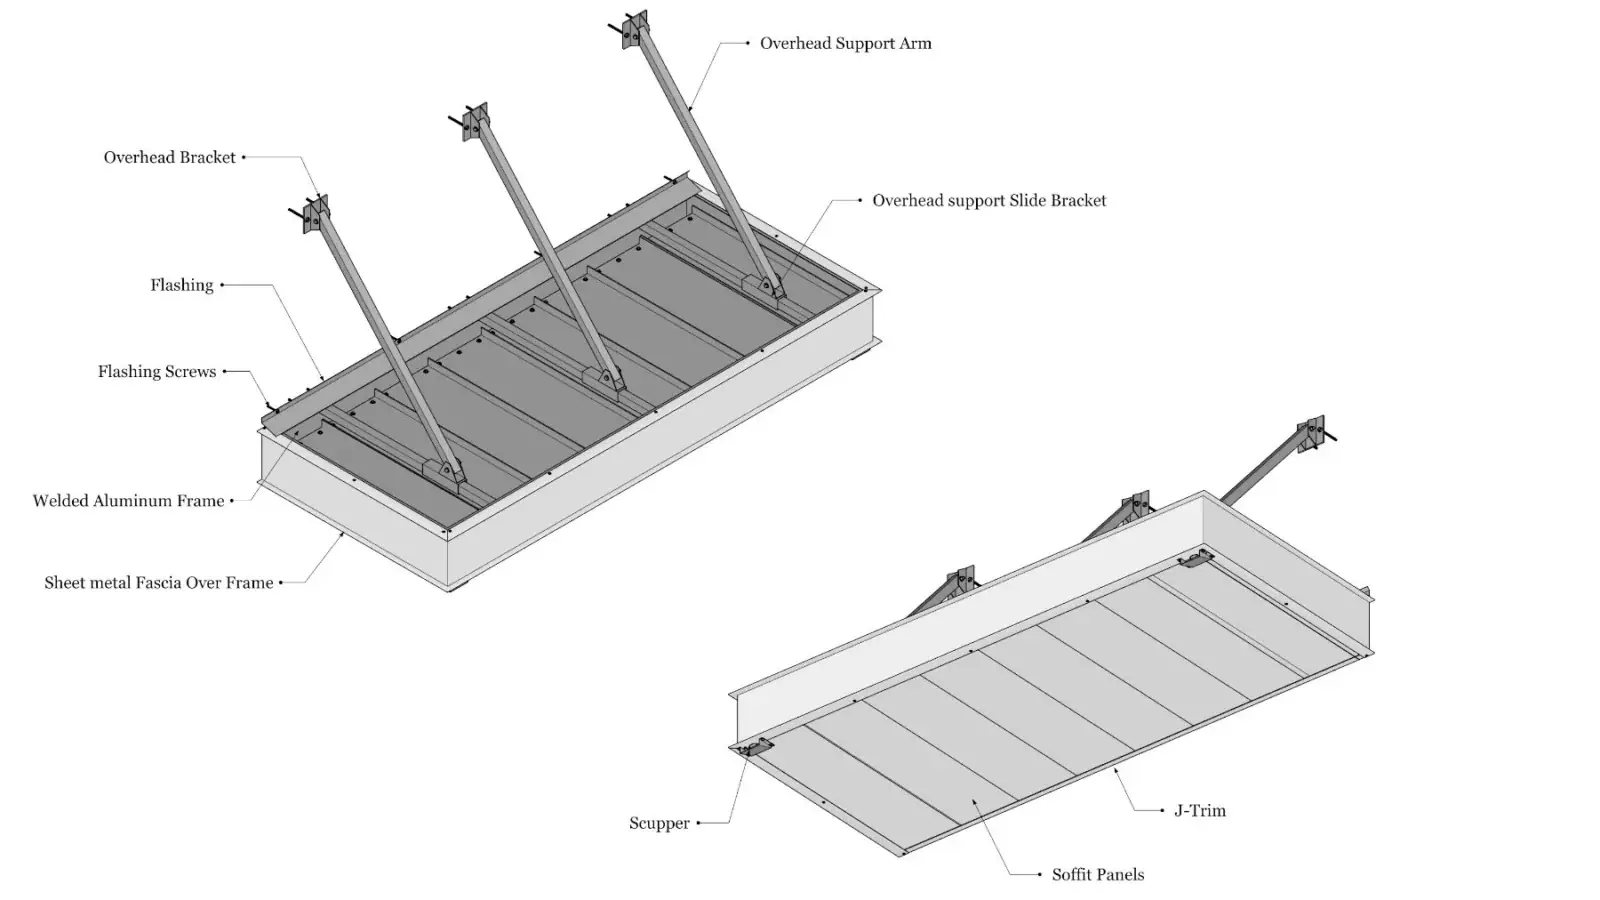
Always check the canopy instructions and the manufacturer’s hardware list. Proprietary systems often need specific fasteners or brackets, and those shouldn’t be swapped out. The parts for our canopies are shown in the Bull Canopy Installation Manual (PDF) and the Hammerhead Canopy Installation Manual (PDF).
Handle pre-finished aluminum parts with care to protect the finish. Use protective padding when moving or staging them.
Installation Overview
Planning is vital. Once a date is set with everyone involved, the manufacturer ships the hardware.
The hardware can often ship ahead of the canopy itself. That lets crews set the wall anchors early, which speeds up installation day.
On installation day, follow these steps for a smooth job.
Measuring and Marking
Accurate layout is key. Before anything else, check all dimensions against the shop drawings.
Use a laser level and chalk lines to lay out anchor points, bracket locations and the canopy footprint. Measure from fixed points such as door frames, building corners or expansion joints so everything lines up.
Bad measurements hurt the canopy’s structure and performance, and they can force a costly redo. Even slightly misplaced brackets or anchors can stress the frame, throw off the drainage or leave gaps that let water in.
Installing Wall Hardware
Check the bracket locations against your layout lines. Confirm spacing, elevation and alignment with the structural supports behind the wall.
- Steel beams or embeds: Type F thread cutters are generally the most secure and preferred method.
- Concrete or filled CMU: epoxy anchors work if the wall is solid and the embedment is at least 6 inches.
- Steel tube: use blind bolts or through-bolts.
Follow the attachment method on the canopy shop drawings, and make sure the wall can carry the canopy loads. The building’s structural engineer is responsible for the wall’s capacity.
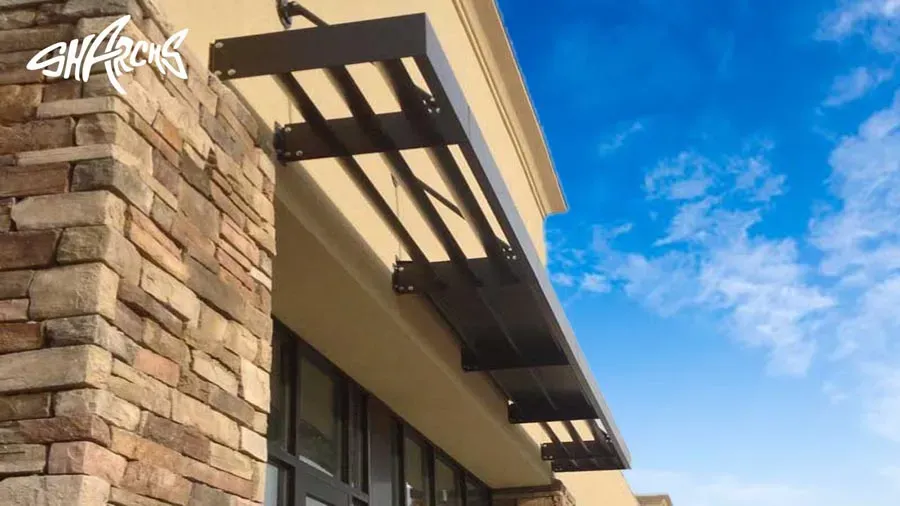
Always use the hardware supplied by the canopy manufacturer, since it is designed for the system. Check the torque specs so you don’t over- or under-tighten.
After setting the fasteners, confirm each bracket is plumb and level before final tightening. If the wall surface varies, use non-compressible shims to keep the bracket line straight.
Well-aligned brackets spread the canopy’s weight evenly and keep twisting stress off the frame. When the brackets are set, seal around every wall penetration to keep water out.
Attaching Supports, Frame and Decking
With the wall hardware secure and aligned, attach the structural supports, the frame (fascia) and the decking.
The order varies by canopy system, so follow the product’s step-by-step instructions.
Installing Drainage
Sharchs solid-deck canopies drain water from the deck into the fascia gutter and out through the bottom of the fascia. Louvered decks let rain pass through, so they don’t need this step.
- Choose the drain locations in the field.
- Drill a 3-inch hole in the bottom of the fascia at each one.
- Insert the drain stub or scupper into the hole.
- If a downspout is specified, rivet it to the stub.
A simple flashing is provided. Attach it to the wall and lap it over the back of the canopy toward the deck. The installer supplies the sealant and the flashing anchors suited to the wall type.
On hanger rod canopies, set the pitch with the nuts on the hanger rods. Pitch the canopy away from the building to send water to front drains. Pitch it toward the building to send water to rear drains or downspouts.
Seal all fascia joints and penetrations tightly with silicone-based sealant so the water goes where it should.
Testing and Adjustments
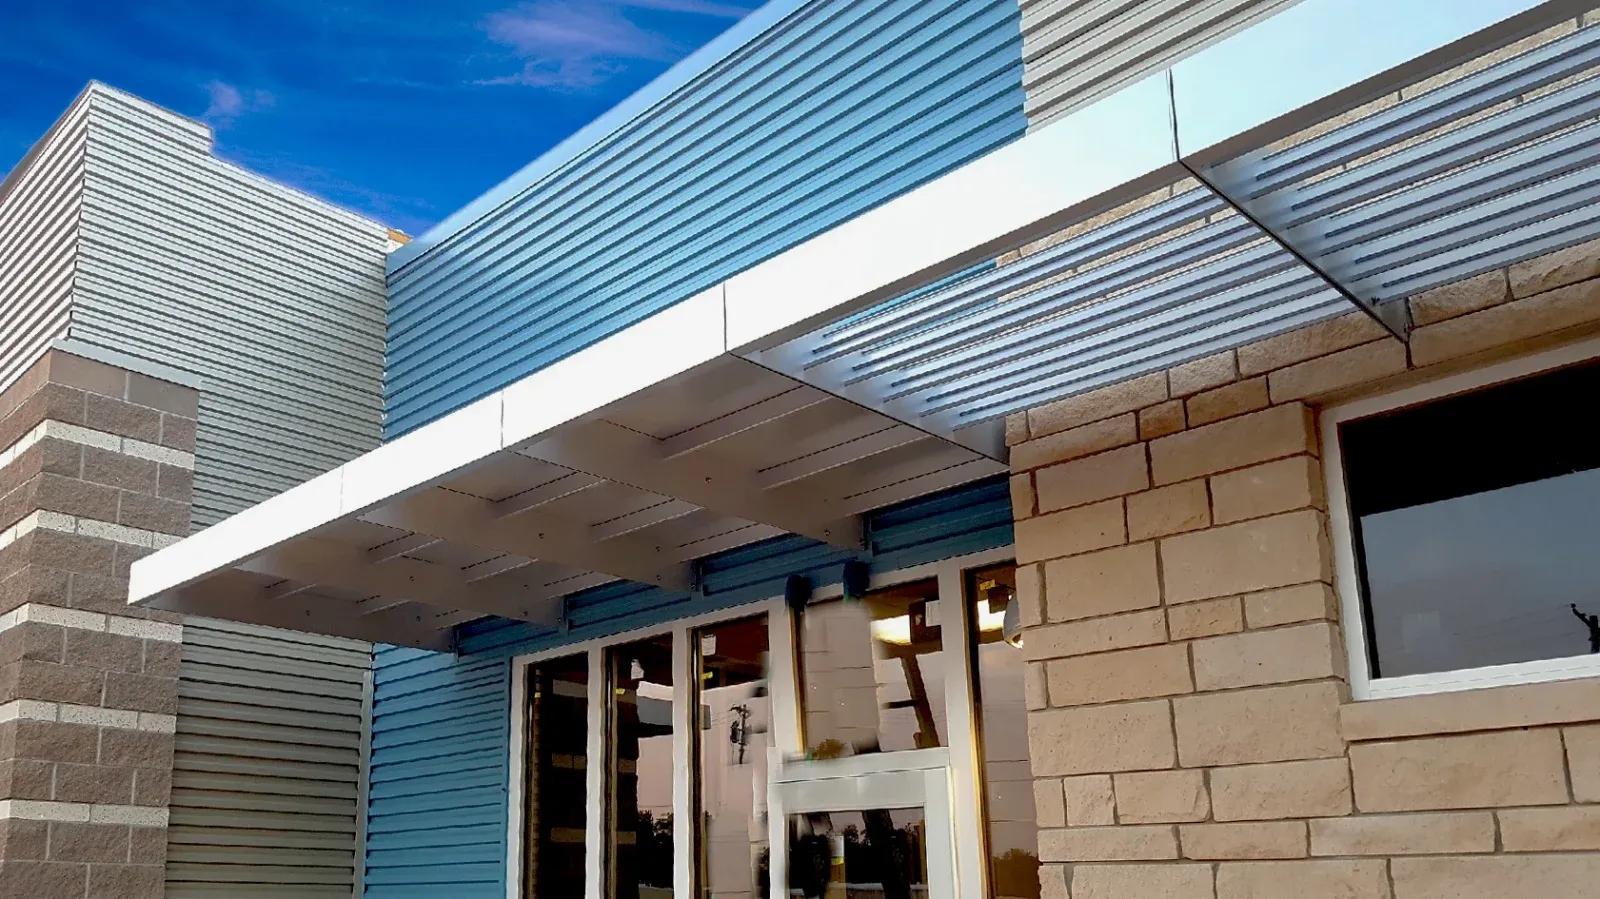
When the canopy is up, test it and make any adjustments. Fixing problems now avoids costly repairs and return trips. Testing also confirms the canopy is safe and ready for the weather.
Checking Alignment and Function
First, check every structural connection. Bolts and fasteners should be torqued correctly. Brackets and frame parts should be plumb and firmly anchored.
If the canopy has built-in drainage, run a water test. Make sure water flows to the drains with no leaks.
Canopy Maintenance
A well-installed canopy needs little upkeep. Regular cleaning and light maintenance keep it in good shape for years.
Sharchs aluminum canopies need only routine washing with soap and water, even in harsh climates. For a simple routine, see how to maintain your aluminum canopy.
Get Your Canopy From Sharchs
Sharchs has designed and built aluminum canopies in Fort Worth since 2011. We install in Texas, Oklahoma, Louisiana, Arkansas and New Mexico. We also ship fully fabricated canopies anywhere in the U.S. for your crew to install. Installers can learn more on our awning installers and general contractors pages.
Send your plans and we bid within 2 business days. Submittals take 7 to 10 business days, and typical production is 8 to 10 weeks after approval. Request an aluminum canopy quote or contact Sharchs.
Frequently Asked Questions
How long does it take to install an aluminum canopy?
Once the site is ready, a canopy can go up in as little as a day. It depends on the canopy size and the crew.
What hardware does Sharchs supply?
When Sharchs is not the installer, we supply the canopy hardware, brackets, anchors and a simple flashing. The installer supplies the sealant and the flashing anchors suited to the wall type.
What anchors should I use to attach a canopy?
Follow the attachment method on the shop drawings. Type F thread cutters are generally preferred for steel beams or embeds. Epoxy anchors work in solid concrete or filled CMU with at least 6 inches of embedment. The building's structural engineer is responsible for the wall's capacity.
How does a Sharchs canopy drain?
On solid-deck canopies, water runs from the deck into the fascia gutter and out through drains in the bottom of the fascia. The installer drills a 3-inch hole at each drain location, sets a drain stub or scupper, and adds a downspout if one is specified.
Where can I find the installation manuals?
Installation manuals and product data sheets for the Bull and Hammerhead canopies are free to download on our install guides page.